In today’s world of technology, it’s no surprise that our devices have become an extension of ourselves. From smartphones to laptops, these devices play a crucial role in our day-to-day activities. One such device that has become indispensable for many is the USB mouse. Whether you’re a student, professional, or simply someone who enjoys browsing the internet, a USB mouse can greatly enhance your productivity and overall user experience. However, for those who are new to the Apple ecosystem, connecting a USB mouse to a MacBook might seem like a daunting task. Fear not, as in this guide, we will walk you through the step-by-step process of connecting a USB mouse to your MacBook, ensuring that you can navigate your device with ease and efficiency.
Picture this: you’re sitting at your desk, ready to tackle the day’s tasks, only to find that your MacBook’s trackpad just isn’t cutting it. Perhaps you’re editing a document, working on a design project, or simply navigating through multiple windows – the precision and comfort of a USB mouse can make all the difference. With the ability to customize buttons, scroll effortlessly, and glide smoothly across your screen, a USB mouse offers a level of control and convenience that is unparalleled. However, if you’re new to the world of MacBooks, you might be wondering how to connect this essential tool to your device. Don’t fret! In this guide, we will demystify the process of connecting a USB mouse to your MacBook, ensuring that you can unleash your creativity and productivity without any hassle.
How to connect a USB mouse to a MacBook:
- Turn on your MacBook and make sure it is running the latest version of macOS.
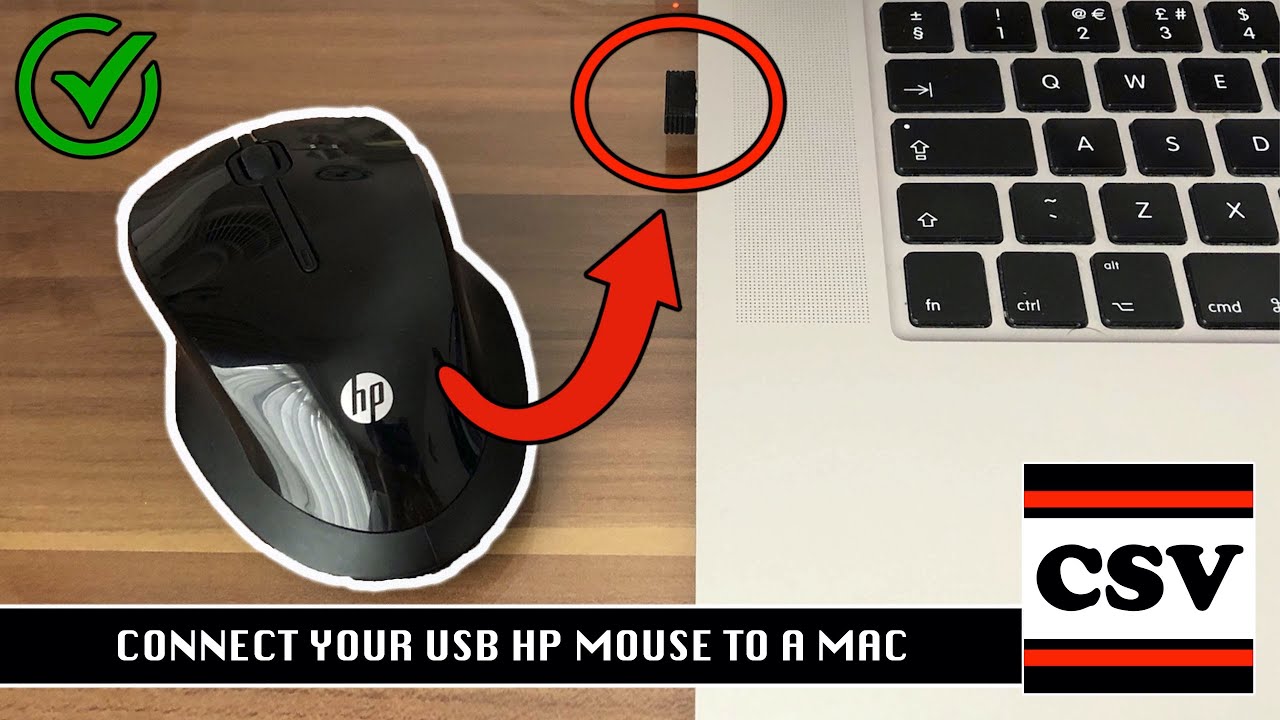
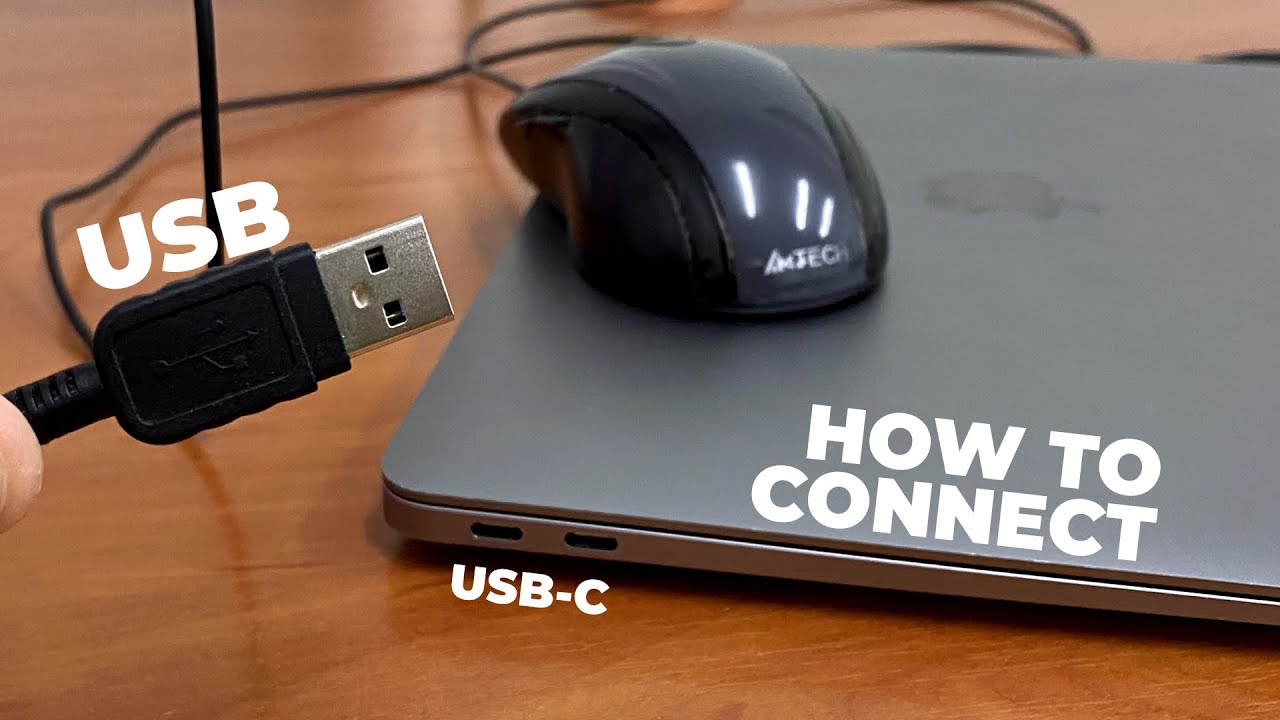
- Locate the USB port on your MacBook. It is usually located on the left or right side of the device.
- Insert the USB connector of your mouse into the USB port of your MacBook.
- Wait for your MacBook to recognize the mouse. It should automatically install the necessary drivers.
- Your USB mouse is now connected to your MacBook and ready to use.
Introduction:
In this article, we will guide you through the step-by-step process of connecting a USB mouse to your MacBook. Many users prefer using a mouse for precise and comfortable control while working on their MacBooks. Whether you have a wireless or wired USB mouse, the following instructions will help you set it up quickly and easily.
H3: Checking Compatibility and Gathering Equipment
Before connecting a USB mouse to your MacBook, it is important to ensure compatibility and gather the necessary equipment. Start by checking if your MacBook has a USB port. Most MacBooks have USB-A ports, while newer models might have USB-C ports. If your MacBook only has USB-C ports, you will need a USB-C to USB-A adapter.
Additionally, make sure you have a USB mouse that is compatible with macOS. Most USB mice are compatible, but it’s always a good idea to check the manufacturer’s website for any specific software or driver requirements. Once you have confirmed compatibility, gather your MacBook, USB mouse, and any necessary adapters.
H3: Connecting the USB Mouse
Now that you have checked compatibility and gathered the necessary equipment, you can proceed to connect the USB mouse to your MacBook. Follow these steps:
Step 1: Power off your MacBook if it’s turned on. This will prevent any potential conflicts during the connection process.
Step 2: Locate the USB port on your MacBook. If you have a MacBook with USB-A ports, you will find them on the side or back of the device. If you have a MacBook with USB-C ports, they will also be located on the side or back, but they will be smaller and rectangular in shape.
Step 3: If you’re using a wired USB mouse, insert the USB connector into the appropriate USB port. If you’re using a wireless USB mouse, make sure the mouse is powered on and follow the manufacturer’s instructions to establish a wireless connection.
Step 4: Once the USB mouse is connected, power on your MacBook. It will automatically detect the USB mouse and install any necessary drivers or software.
H3: Adjusting Mouse Settings
After successfully connecting the USB mouse to your MacBook, you may want to customize the mouse settings to suit your preferences. Follow these steps to adjust the mouse settings:
Step 1: Click on the Apple menu located in the top-left corner of your screen and select “System Preferences.”
Step 2: In the System Preferences window, click on the “Mouse” icon.
Step 3: From the Mouse settings, you can adjust various options such as tracking speed, scrolling direction, button customization, and more. Explore the different tabs and customize the settings according to your needs.
Step 4: Once you have adjusted the mouse settings to your liking, close the System Preferences window.
By following these steps, you can easily connect a USB mouse to your MacBook and enjoy a comfortable and precise control experience. Remember to check for compatibility, gather the necessary equipment, and adjust the mouse settings to suit your preferences. Happy mouse-clicking!
Frequently Asked Questions
Here are some common questions about how to connect a USB mouse to a MacBook:
1. How do I connect a USB mouse to my MacBook?
To connect a USB mouse to your MacBook, simply follow these steps:
1. Locate the USB port on your MacBook. It is usually located on the left or right side of the device.
2. Plug the USB connector of the mouse into the USB port.
3. Wait for your MacBook to recognize the mouse. This may take a few seconds.
4. Once the mouse is recognized, you can start using it. The cursor on your MacBook’s screen should move accordingly.
If your USB mouse requires any additional software or drivers, make sure to install them before connecting the mouse to your MacBook.
2. Why isn’t my USB mouse working on my MacBook?
If your USB mouse is not working on your MacBook, there could be a few reasons for this issue:
1. Ensure that the mouse is properly connected to the USB port. Try unplugging and re-plugging the mouse to make sure it is securely connected.
2. Check if the mouse is compatible with your MacBook. Some older or specialized mice may not be compatible with certain models of MacBooks.
3. Restart your MacBook. Sometimes, a simple restart can resolve connectivity issues.
4. If the above steps do not work, try connecting the mouse to a different USB port on your MacBook or try using a different USB mouse to see if the problem lies with the mouse itself or the USB port.
If the issue persists, it is recommended to contact the manufacturer or seek technical support for further assistance.
3. Can I use a wireless mouse with my MacBook?
Yes, you can use a wireless mouse with your MacBook. Most wireless mice use Bluetooth technology to connect to your MacBook. To connect a wireless mouse to your MacBook, follow these steps:
1. Make sure your wireless mouse is in pairing mode. Refer to the mouse’s user manual for instructions on how to enable pairing mode.
2. On your MacBook, go to “System Preferences” and click on “Bluetooth.”
3. Turn on Bluetooth on your MacBook if it is not already enabled.
4. Your MacBook will scan for available Bluetooth devices. Once your wireless mouse appears in the list, click on it to pair the mouse with your MacBook.
5. Once the pairing is successful, your wireless mouse should be ready to use.
Note that some wireless mice may require specific drivers or software to be installed on your MacBook. Make sure to check the manufacturer’s instructions for any additional requirements.
4. Can I use a USB hub to connect multiple USB mice to my MacBook?
Yes, you can use a USB hub to connect multiple USB mice to your MacBook. A USB hub allows you to expand the number of USB ports available on your MacBook, making it possible to connect multiple USB devices, including mice.
To connect multiple USB mice using a USB hub, follow these steps:
1. Connect the USB hub to one of the USB ports on your MacBook.
2. Plug in the USB mice into the available ports on the USB hub.
3. Your MacBook should recognize the mice as separate input devices, and you can use them simultaneously.
Keep in mind that the performance of multiple USB mice connected through a USB hub may depend on the capabilities of both the hub and your MacBook. Some high-performance mice may require direct connections to the MacBook’s USB ports for optimal performance.
5. Can I customize the settings of my USB mouse on my MacBook?
Yes, you can customize the settings of your USB mouse on your MacBook. macOS provides built-in options to configure various aspects of your mouse’s behavior. To customize the settings, follow these steps:
1. Go to “System Preferences” on your MacBook.
2. Click on “Mouse” or “Trackpad,” depending on the type of mouse you are using.
3. In the settings window, you can adjust options such as tracking speed, scroll direction, button functions, and more.
4. Experiment with different settings to find the configuration that suits your preferences.
Some USB mice may also come with their own software or drivers that offer additional customization options. Check the manufacturer’s website or the product documentation for any software that can enhance the customization capabilities of your USB mouse.
Remember, practice makes perfect. Don’t be discouraged if it takes a few tries to get the hang of connecting a USB mouse to your MacBook. Once you have successfully connected your mouse, take some time to customize the settings to your liking, and explore the various features and functionalities it offers. With the convenience and ease of use that a USB mouse provides, you’ll wonder how you ever managed without it. So go ahead, give it a try, and unlock the full potential of your MacBook with a USB mouse.

