In the fast-paced world of technology, staying connected is key. As the proud owner of a sleek and powerful MacBook Air M1, you may find yourself seeking ways to enhance your productivity and streamline your workflow. One such method is by connecting a USB mouse to your MacBook Air M1, providing you with greater precision and control in navigating your digital realm. In this guide, we will walk you through the step-by-step process of connecting a USB mouse to your MacBook Air M1, empowering you with the knowledge to seamlessly integrate this essential peripheral into your daily routine.
With its cutting-edge design and groundbreaking performance, the MacBook Air M1 has revolutionized the way we interact with our digital devices. While the trackpad offers a smooth and intuitive experience, some users prefer the familiarity and precision of using a USB mouse. Whether you’re a creative professional, a student with a heavy workload, or simply someone who values efficiency, connecting a USB mouse to your MacBook Air M1 can significantly enhance your productivity and comfort. So, without further ado, let’s dive into the world of USB mouse connectivity and discover how you can effortlessly integrate this accessory into your MacBook Air M1 experience.
- Turn on your MacBook Air M1 and make sure it’s running the latest macOS version.
- Locate the USB port on your MacBook Air M1.
- Connect the USB mouse to the USB port using a compatible USB cable or adapter.
- Your MacBook Air M1 should recognize the USB mouse automatically, and you can start using it.
Connecting a USB Mouse to MacBook Air M1
In this article, we will guide you through the step-by-step process of connecting a USB mouse to your MacBook Air M1. Whether you prefer using a mouse for increased precision or simply find it more comfortable, connecting a USB mouse to your MacBook Air is a straightforward process that can greatly enhance your productivity.
Step 1: Check for Compatibility
Before you proceed with connecting a USB mouse to your MacBook Air M1, it is important to ensure that the mouse is compatible with your device. Most USB mice are plug-and-play, meaning they should work with your MacBook Air without any additional software installation. However, it is recommended to check the manufacturer’s website or product documentation to confirm compatibility.
If your USB mouse is compatible, proceed to the next step. If not, consider purchasing a mouse that specifically mentions compatibility with macOS and the M1 chip to ensure optimal performance.
Step 2: Prepare the USB Mouse
Before connecting the USB mouse to your MacBook Air M1, make sure it is powered on and has fresh batteries (if applicable). Some USB mice may have a switch or button to turn them on, while others may automatically power on when connected. Refer to the mouse’s user manual for specific instructions.
In addition, if your USB mouse has any additional buttons or features, such as programmable buttons or adjustable DPI settings, you may need to install the manufacturer’s software or drivers to fully utilize these features. Again, consult the product documentation for guidance on software installation, if required.
Step 3: Connect the USB Mouse
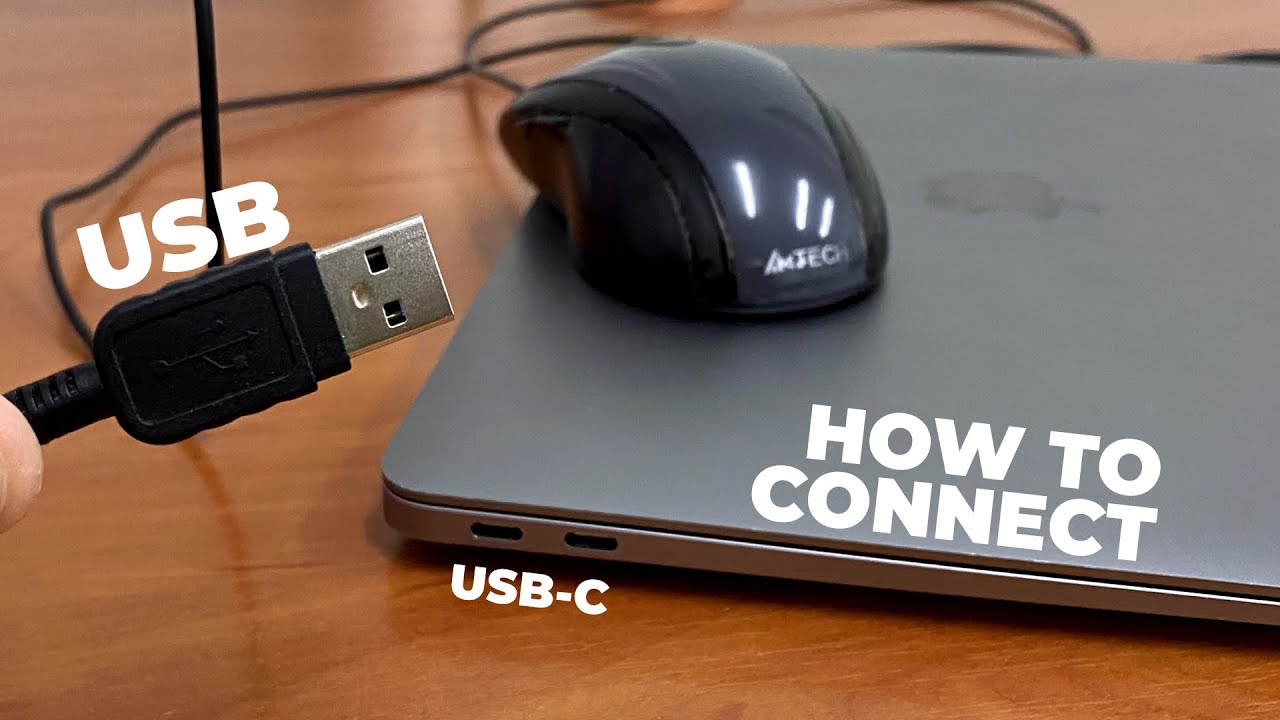
Locate the USB port on your MacBook Air M1. The MacBook Air M1 is equipped with two USB-C/Thunderbolt 3 ports, so you may need a USB-C to USB-A adapter if your USB mouse has a traditional USB-A connector. Connect the USB mouse to the appropriate port using the adapter, if necessary.
Once connected, your MacBook Air should automatically recognize the USB mouse. You may notice a cursor appearing on the screen, indicating that the mouse is functioning correctly. If the cursor does not appear, try unplugging and reconnecting the USB mouse. If the issue persists, refer to the troubleshooting section of the mouse’s user manual or contact the manufacturer for further assistance.
Step 4: Adjust Mouse Settings (Optional)
By default, macOS should recognize the connected USB mouse and allow you to use it immediately. However, if you wish to customize the mouse settings, such as adjusting the tracking speed or enabling additional gestures, you can do so through the “System Preferences” menu.
To access the “System Preferences” menu, click on the Apple menu in the top-left corner of the screen and select “System Preferences.” Then, click on the “Mouse” or “Trackpad” option, depending on how your USB mouse is recognized. From here, you can adjust various settings to tailor the mouse behavior to your preferences.
Step 5: Enjoy Using Your USB Mouse
With your USB mouse successfully connected to your MacBook Air M1, you can now enjoy the enhanced precision and comfort it provides. Whether you’re navigating through documents, editing photos, or simply browsing the web, the USB mouse offers a seamless and efficient experience on your MacBook Air.
Remember to properly disconnect the USB mouse when you’re finished using it. You can do this by gently unplugging the mouse from the USB port. If you frequently connect and disconnect the mouse, consider using a USB hub or docking station for convenience.
Following these steps, you should now be able to connect your USB mouse to your MacBook Air M1 and start enjoying its benefits. Remember to refer to the manufacturer’s documentation or contact their support if you encounter any difficulties during the process.
Frequently Asked Questions
Here are some common questions about how to connect a USB mouse to a MacBook Air M1:
Q: Can I connect a USB mouse to my MacBook Air M1?
A: Yes, you can connect a USB mouse to your MacBook Air M1 using an adapter. The MacBook Air M1 is equipped with USB-C ports, so you will need a USB-C to USB-A adapter to connect the USB mouse. Simply plug the USB-C to USB-A adapter into one of the USB-C ports on your MacBook Air M1, and then connect the USB mouse to the USB-A port on the adapter. Your MacBook Air M1 should recognize the mouse and you will be able to use it.
It’s worth noting that some USB mice may require additional drivers or software to be installed on your MacBook Air M1. In most cases, however, the mouse should work plug-and-play without the need for any additional software.
Q: Where can I get a USB-C to USB-A adapter?
A: You can purchase a USB-C to USB-A adapter from various online retailers, as well as from Apple’s official website and authorized resellers. Make sure to choose a reputable brand and ensure that the adapter is compatible with your MacBook Air M1. It’s also a good idea to check customer reviews and ratings before making a purchase to ensure the quality and reliability of the adapter.
Alternatively, you can visit an Apple Store or an authorized Apple service provider to purchase the adapter in-person. The staff will be able to assist you in finding the right adapter for your MacBook Air M1 and answer any questions you may have.
Q: Do I need to install any drivers for the USB mouse?
A: In most cases, you should not need to install any drivers for a USB mouse to work with your MacBook Air M1. MacOS has built-in support for a wide range of USB mice, and it should recognize and configure the mouse automatically when you connect it to your MacBook Air M1 using the USB-C to USB-A adapter.
However, if your USB mouse requires special features or customization options, you may need to install additional software or drivers provided by the manufacturer. Check the manufacturer’s website for any available software or drivers specifically designed for macOS. Follow the instructions provided by the manufacturer to install the required software or drivers, if necessary.
Q: Can I use a wireless USB mouse with my MacBook Air M1?
A: Yes, you can use a wireless USB mouse with your MacBook Air M1. To connect a wireless USB mouse, you will need to plug the USB receiver into the USB-C to USB-A adapter and connect it to your MacBook Air M1. Follow the manufacturer’s instructions to pair the mouse with the USB receiver. Once paired, your MacBook Air M1 should recognize the wireless mouse and you will be able to use it without any additional setup.
It’s important to ensure that the wireless USB mouse is compatible with macOS and has drivers or software available for macOS if needed. Check the manufacturer’s website or product documentation for compatibility information and any required software or drivers.
Q: Can I connect multiple USB mice to my MacBook Air M1?
A: Yes, you can connect multiple USB mice to your MacBook Air M1 using a USB hub. A USB hub allows you to expand the number of USB ports on your MacBook Air M1, allowing you to connect multiple USB devices, including mice.
To connect multiple USB mice, simply plug the USB-C to USB-A adapter into one of the USB-C ports on your MacBook Air M1, and then connect the USB hub to the USB-A port on the adapter. Connect the USB mice to the USB ports on the USB hub. Your MacBook Air M1 should recognize all the connected USB mice, and you will be able to use them simultaneously.
In conclusion, connecting a USB mouse to your MacBook Air M1 is a simple and straightforward process that enhances your user experience and productivity. By following the steps outlined earlier, you can easily connect your USB mouse to your MacBook Air M1 and start enjoying the benefits of precise cursor control and ergonomic design.
Whether you are a student, professional, or casual user, using a USB mouse with your MacBook Air M1 can greatly improve your efficiency and comfort. With the latest M1 chip, the MacBook Air offers exceptional performance and compatibility, making it a perfect companion for your USB mouse. So, don’t hesitate to give it a try and unlock a whole new level of convenience and ease while navigating through your tasks and projects.
In conclusion, connecting a USB mouse to your MacBook Air M1 is a quick and effective way to enhance your workflow and overall user experience. Embrace the simplicity and efficiency of this process and enjoy the benefits of a more precise and comfortable navigation. Upgrade your MacBook Air M1 with a USB mouse today and unlock a world of possibilities.

