Are you tired of using a dirty, grimy mousepad that hinders your gaming or work performance? Look no further! In this comprehensive guide, we will reveal the secrets to cleaning and maintaining your glorious mousepad, ensuring it remains in pristine condition for years to come. Whether you’re a gaming enthusiast seeking optimal precision or a professional in need of smooth mouse movements, cleaning your mousepad regularly is essential to achieving peak performance. So, grab your cleaning supplies and let’s dive into the world of mousepad maintenance!
Imagine gliding your mouse effortlessly across a clean, smooth surface, every movement translating seamlessly onto your screen. A clean and well-maintained mousepad not only enhances the aesthetic appeal of your gaming setup or workspace, but it also plays a crucial role in providing the precise control you need for those intense gaming sessions or important work tasks. But how do you achieve that glorious cleanliness without compromising the durability and functionality of your beloved mousepad? In this guide, we will explore various cleaning techniques, from simple spot cleaning to deep cleaning methods, ensuring your mousepad remains in top-notch condition throughout its lifespan. So, get ready to unlock the secrets to maintaining a glorious mousepad that will elevate your gaming or work experience to new heights!
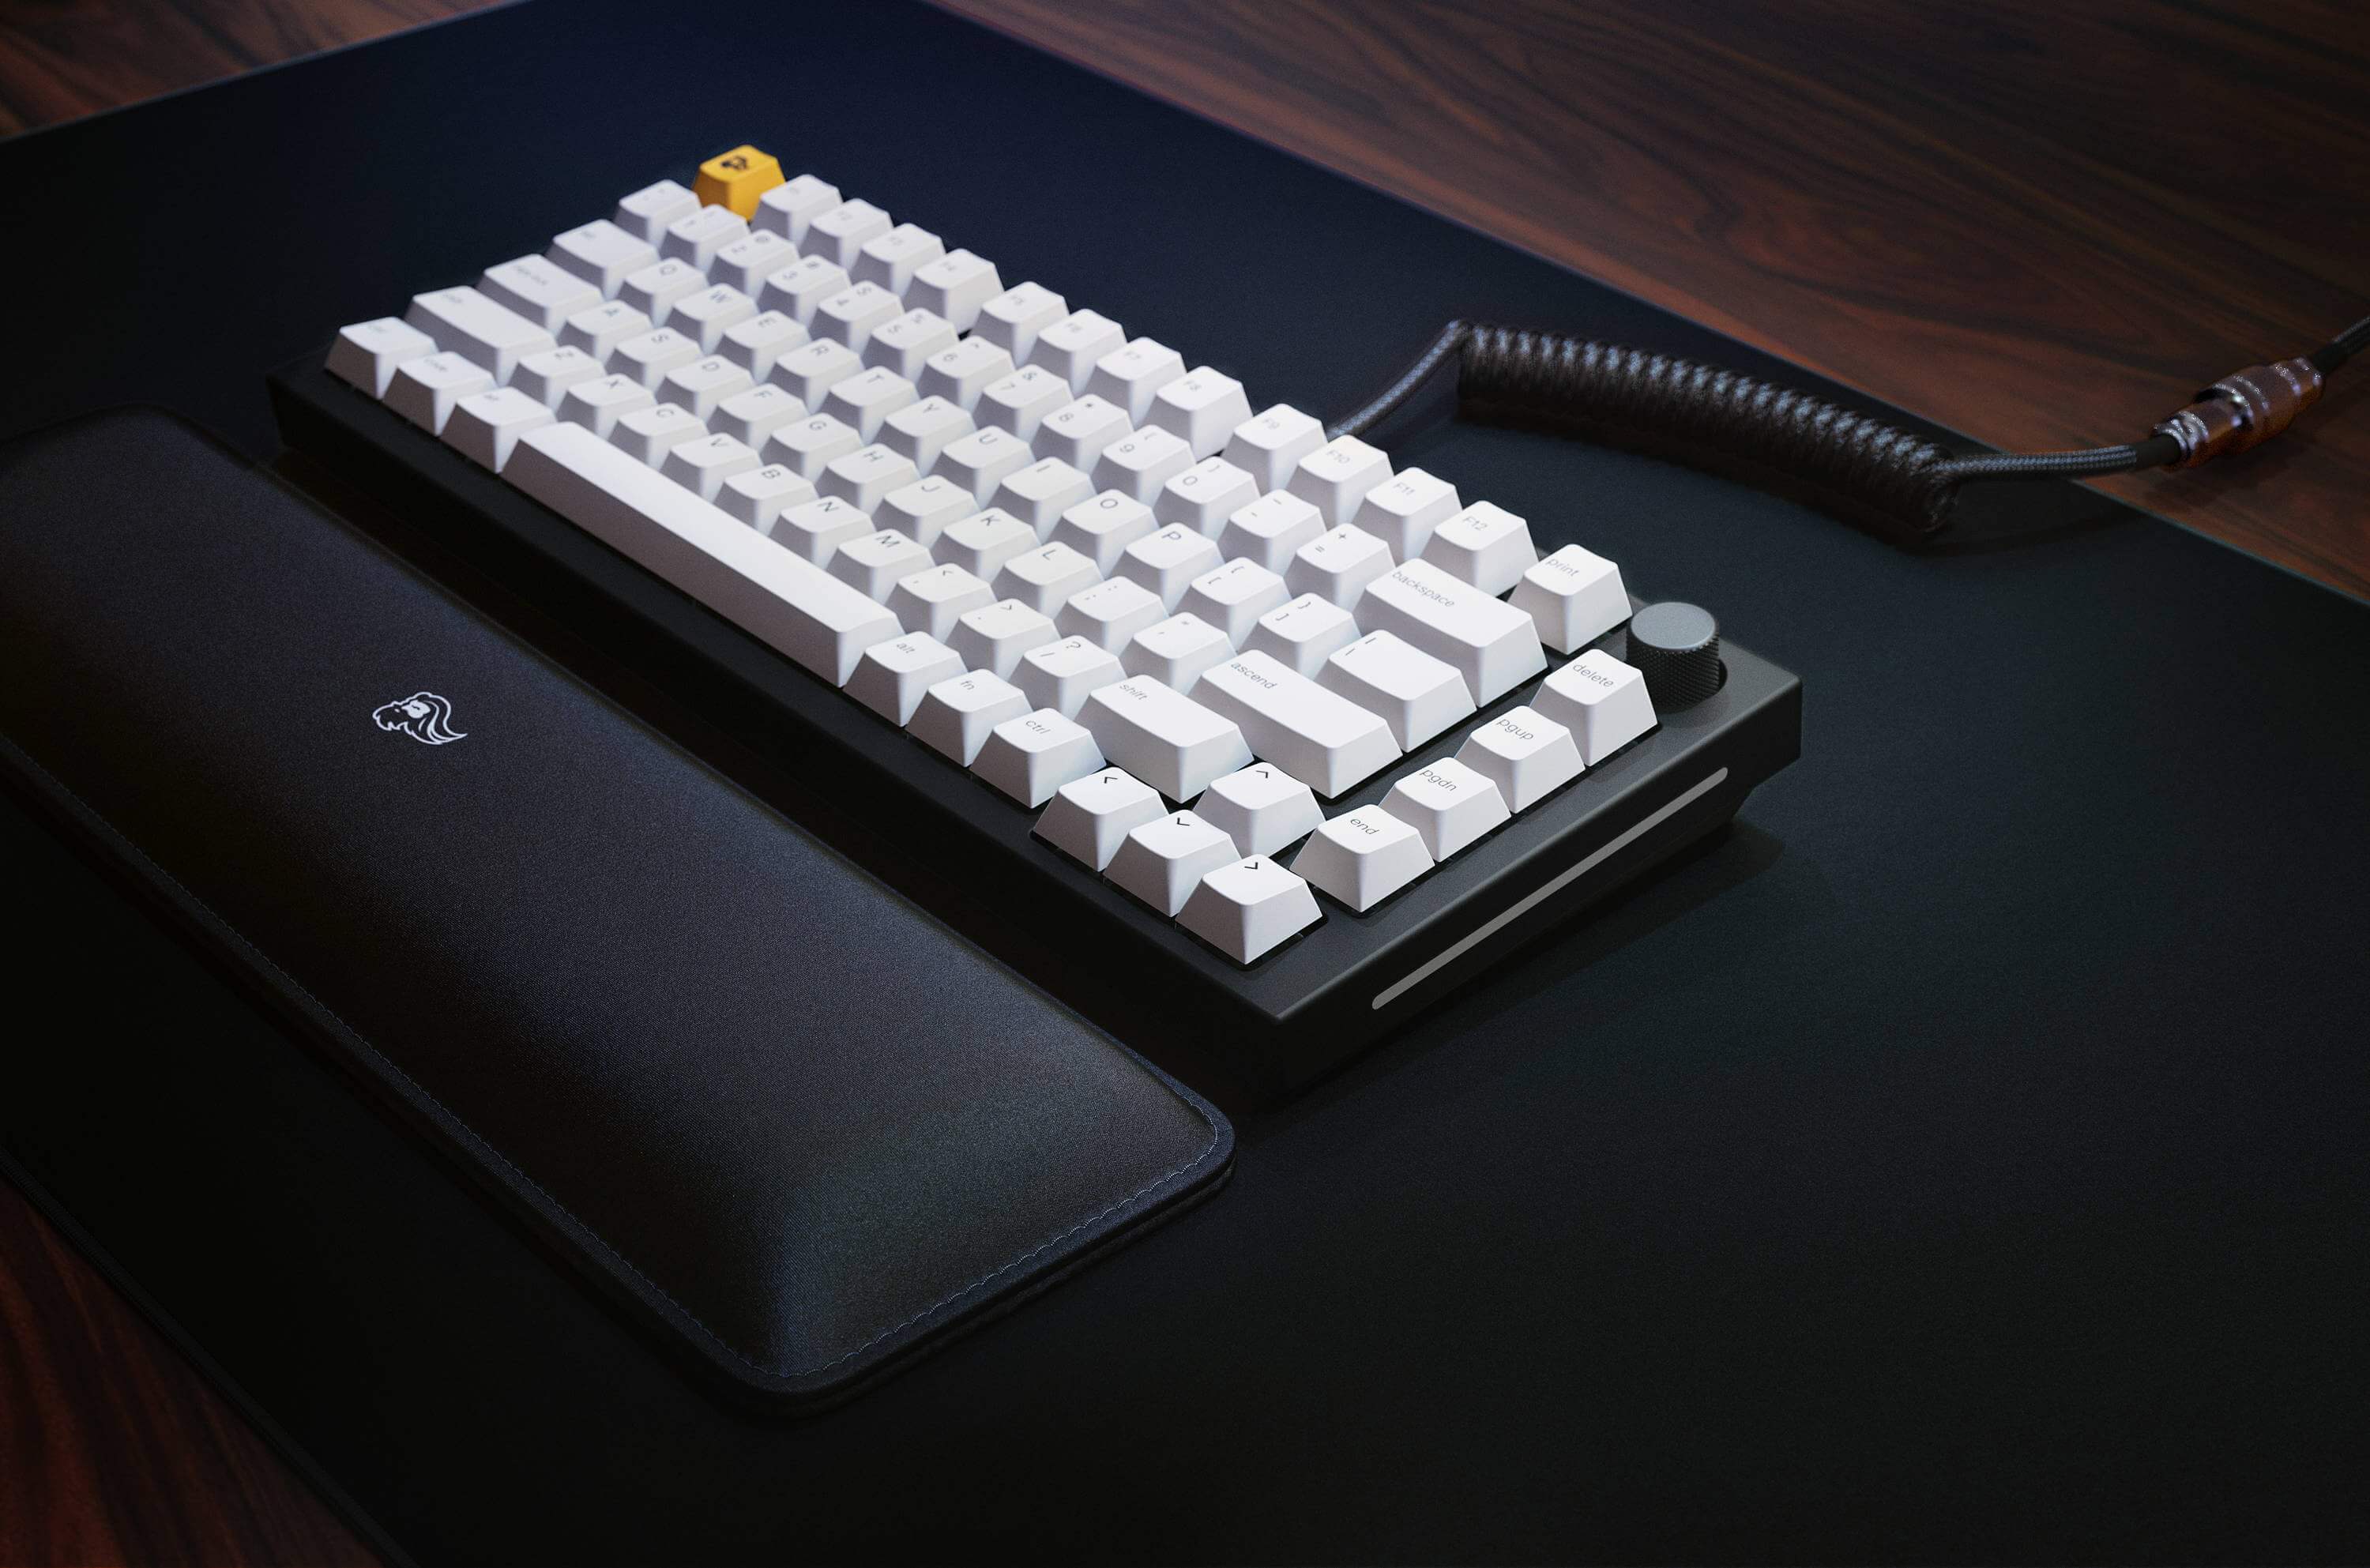
How to Clean Glorious Mousepad:
- Fill a sink or basin with warm water and a small amount of mild detergent.
- Gently scrub the mousepad with a soft brush or sponge, focusing on any stains or dirt buildup.
- Rinse the mousepad thoroughly under running water.
- Pat the mousepad dry with a clean towel or let it air dry completely.
- Once dry, use a lint roller or tape to remove any remaining debris.

Introduction
In this step-by-step guide, we will explain how to clean your glorious mousepad effectively. Over time, mousepads can accumulate dust, dirt, and stains, which can affect your mouse’s performance. Regular cleaning not only keeps your mousepad looking great but also ensures smooth and precise mouse movements. Follow these instructions to maintain your mousepad in pristine condition.
Gather the necessary materials
Before you start cleaning your glorious mousepad, make sure you have the following materials ready:
- Mild detergent or dish soap
- Soft-bristled brush or sponge
- Warm water
- Clean towel or paper towels
Having these materials at hand will help make the cleaning process more efficient.
Step 1: Prepare the cleaning solution
Start by preparing a cleaning solution using warm water and a mild detergent or dish soap. Fill a small bowl or basin with warm water, and add a few drops of the detergent or dish soap. Mix the solution gently until it becomes soapy.
It’s important to use a mild detergent or dish soap to avoid damaging the mousepad’s surface. Harsh chemicals or bleach should be avoided as they can cause discoloration or deterioration of the mousepad material.
Step 2: Remove the mousepad from your setup
Before cleaning, it’s best to remove the mousepad from your setup to prevent any accidents or damage to your computer or mouse. Unplug your mouse if necessary, and carefully lift the mousepad from your desk or mousepad tray.
Place the mousepad on a clean and flat surface where you can comfortably work on it.
Step 3: Gently scrub the mousepad
Dip the soft-bristled brush or sponge into the prepared cleaning solution. Make sure the brush or sponge is damp but not dripping wet. Begin gently scrubbing the surface of the mousepad in a circular motion.
Pay extra attention to any stained or dirty areas on the mousepad. Apply a bit more pressure to effectively remove stubborn stains, but be careful not to damage the material.
Step 4: Rinse and dry the mousepad
After scrubbing the entire surface, rinse the mousepad thoroughly with clean water to remove any soap residue. Hold the mousepad under a gentle stream of water or use a damp cloth to rinse off the soap.
Once rinsed, gently squeeze out any excess water from the mousepad. Avoid wringing or twisting the mousepad, as this can cause it to lose its shape or tear.
Lay the mousepad flat on a clean towel or a few layers of paper towels. Allow it to air dry completely before placing it back into your setup. This may take a few hours, depending on the thickness of the mousepad and the humidity in the room.
Step 5: Reassemble your setup
Once the mousepad is fully dry, you can reassemble your setup. Plug your mouse back in, position the mousepad in its desired location, and enjoy the clean and glorious surface for smooth mouse movements.
Remember to regularly clean your mousepad to maintain its cleanliness and performance. Depending on your usage and environment, it’s recommended to clean your mousepad every few weeks or whenever you notice it becoming dirty or stained.
Frequently Asked Questions
Here are some common questions about cleaning the Glorious mousepad:
Q: How often should I clean my Glorious mousepad?
A: It is recommended to clean your Glorious mousepad every 1-2 months, or more frequently if you notice it becoming dirty or stained. Regular cleaning helps maintain its performance and longevity.
To clean your mousepad, you can follow the steps mentioned below.
Q: Can I machine wash my Glorious mousepad?
A: No, machine washing is not recommended for Glorious mousepads. The harsh agitation and high temperatures can damage the surface and the stitching. Hand washing is the preferred method for cleaning your mousepad.
To hand wash your mousepad, you can use a mild detergent and lukewarm water. Gently scrub the surface with a soft brush or sponge, and then rinse thoroughly. Allow it to air dry completely before using it again.
Q: How can I remove stubborn stains from my Glorious mousepad?
A: If you have stubborn stains on your Glorious mousepad, you can try using a mixture of warm water and mild soap. Apply the solution to the stained area and gently scrub with a soft brush or sponge. Rinse thoroughly and allow the mousepad to air dry.
It is important to avoid using harsh chemicals or abrasive cleaners, as they can damage the surface of the mousepad.
Q: Can I use a washing machine to dry my Glorious mousepad?
A: No, using a washing machine to dry your Glorious mousepad is not recommended. The heat and agitation of a dryer can cause the mousepad to shrink, warp, or become misshapen. It is best to allow the mousepad to air dry naturally.
Place the mousepad on a flat surface or hang it up to dry, ensuring good airflow. Avoid direct sunlight, as it can fade the colors of the mousepad.
Q: Is it safe to use bleach on my Glorious mousepad?
A: No, it is not safe to use bleach on your Glorious mousepad. Bleach is a harsh chemical that can damage the surface and the stitching. It is best to use mild detergent and lukewarm water for cleaning your mousepad.
If you have any specific stains that are difficult to remove, you can try using a stain remover specifically designed for fabrics. However, always test it on a small, inconspicuous area of the mousepad first to ensure it does not cause any damage.
How to clean the Glorious 3XL Extended – 24″x 48″ – White Edition
In conclusion, taking care of your glorious mousepad doesn’t have to be a daunting task. By following these simple steps and incorporating them into your regular cleaning routine, you can ensure that your mousepad remains in pristine condition for a long time. Remember to start by removing any loose debris or crumbs, followed by a gentle cleaning using a mild soap or detergent. Allow it to air dry completely before using it again. Lastly, don’t forget to regularly clean your mouse and practice good hand hygiene to prevent any dirt or oil transfer onto the surface of your mousepad.
With the proper care and attention, your glorious mousepad can continue to provide you with a smooth and comfortable surface for precise mouse movements. By keeping it clean, you not only enhance its longevity but also maintain optimal performance for your gaming or work sessions. So, don’t let dirt and grime hinder your mousepad’s glory – take a few minutes to clean it regularly, and you’ll be rewarded with a clean and pristine surface every time you use it. Happy cleaning!

