In today’s tech-savvy world, wireless devices have become an integral part of our daily lives. From smartphones to smart home devices, the convenience of going wireless has revolutionized the way we interact with technology. One such device that has gained immense popularity is the wireless mouse. With its sleek design and hassle-free functionality, it offers an enhanced user experience. However, for Chromebook users, connecting a wireless mouse might seem like a daunting task. But fear not, as this guide will walk you through the step-by-step process of connecting a wireless mouse to your Chromebook, ensuring a seamless and effortless experience.
Imagine the freedom of gliding your mouse with no messy cables to contend with. Whether you’re a student, a professional, or simply someone who values a clutter-free workspace, a wireless mouse can be a game-changer. But if you’re new to the Chromebook world, you might be wondering how to connect this wireless wonder to your device. Well, look no further! This comprehensive guide will provide you with all the necessary instructions and tips to successfully connect your wireless mouse to your Chromebook. So, get ready to ditch the cords and embrace the wireless revolution as you discover the simplicity and convenience of using a wireless mouse with your Chromebook.
- Turn on your wireless mouse and make sure it is in pairing mode.
- On your Chromebook, click on the clock in the bottom-right corner and select the gear icon to open the settings menu.
- Click on “Bluetooth” in the left-hand menu.
- Make sure Bluetooth is turned on, then click on “Add device”.
- Your Chromebook will search for available devices. When you see your wireless mouse in the list, click on it to connect.
Connecting a Wireless Mouse to a Chromebook
In this article, we will guide you through the step-by-step process of connecting a wireless mouse to your Chromebook. Using a wireless mouse can provide you with greater flexibility and convenience when using your Chromebook, especially for tasks that require precise cursor control. By following these instructions, you’ll be able to easily connect your wireless mouse and start using it with your Chromebook in no time.
Step 1: Check Compatibility
Before connecting a wireless mouse to your Chromebook, it’s important to ensure that your mouse is compatible with the Chromebook operating system. Most wireless mice are compatible with Chromebooks, but it’s always a good idea to check the manufacturer’s specifications or user manual to confirm compatibility. If your mouse is compatible, proceed to the next step.
Step 2: Prepare Your Mouse
Once you’ve confirmed compatibility, make sure your wireless mouse is powered on and has fresh batteries. Some wireless mice come with an on/off switch, so ensure that it is in the “on” position. If your mouse requires a USB receiver, make sure it is plugged into an available USB port on your Chromebook.
Step 3: Access the Bluetooth Settings
Next, you’ll need to access the Bluetooth settings on your Chromebook. Click on the clock in the bottom-right corner of the screen to open the system tray, then click on the gear icon to open the settings menu. From the settings menu, select “Bluetooth” to open the Bluetooth settings page.
Step 4: Pair the Mouse
On the Bluetooth settings page, ensure that the Bluetooth switch is toggled on. Your Chromebook will start searching for available devices. Press and hold the pairing button on your wireless mouse until the LED light on the mouse starts flashing. Your Chromebook should detect the mouse and display it in the list of available devices. Click on the mouse name to initiate the pairing process.
Step 5: Complete the Pairing Process
Follow the on-screen prompts to complete the pairing process. Your Chromebook may display a pairing code that you need to enter on your mouse or vice versa. Once the pairing is successful, your Chromebook will display a confirmation message, and your wireless mouse should be ready to use.
By following these steps, you can easily connect a wireless mouse to your Chromebook and enjoy the convenience of cursor control. Remember to keep your mouse batteries charged or replace them when necessary to ensure optimal performance. Happy browsing!
Frequently Asked Questions
Here are some commonly asked questions about how to connect a wireless mouse to a Chromebook:
Question 1: How do I connect a wireless mouse to a Chromebook?
To connect a wireless mouse to a Chromebook, follow these steps:
Step 1: Make sure your wireless mouse is turned on and has fresh batteries.
Step 2: On your Chromebook, click on the time in the bottom-right corner of the screen.
Step 3: Click on the gear icon to open the settings menu.
Step 4: In the settings menu, click on “Bluetooth” to open the Bluetooth settings.
Step 5: Turn on Bluetooth if it is not already enabled.
Step 6: Put your wireless mouse in pairing mode. This usually involves pressing a button on the bottom of the mouse.
Step 7: On your Chromebook, click on “Add device” in the Bluetooth settings.
Step 8: Wait for your wireless mouse to appear in the list of available devices, then click on it to connect.
Question 2: How do I know if my wireless mouse is compatible with a Chromebook?
Most wireless mice are compatible with Chromebooks. However, to be sure, check the packaging or the manufacturer’s website for compatibility information. Look for any mention of Chrome OS or Chromebook support.
Additionally, if your wireless mouse uses Bluetooth to connect, it should work with a Chromebook, as Chromebooks have built-in Bluetooth support.
Question 3: My wireless mouse is not connecting to my Chromebook. What should I do?
If your wireless mouse is not connecting to your Chromebook, try the following troubleshooting steps:
1. Make sure your wireless mouse has fresh batteries and is turned on.
2. Check if Bluetooth is enabled on your Chromebook. You can do this by clicking on the time in the bottom-right corner, then clicking on the gear icon to open the settings menu, and navigating to the Bluetooth settings.
3. Put your wireless mouse in pairing mode and try connecting it again.
4. Restart your Chromebook and try connecting your wireless mouse again.
If none of these steps work, consult the user manual for your wireless mouse or contact the manufacturer for further assistance.
Question 4: Can I connect multiple wireless mice to a Chromebook?
Yes, you can connect multiple wireless mice to a Chromebook, as long as they are all Bluetooth-enabled. Each wireless mouse will be treated as a separate input device, and you can switch between them as needed.
To connect multiple wireless mice, follow the same steps mentioned earlier for connecting a single wireless mouse.
Question 5: Can I use a wireless mouse with a Chromebook that doesn’t have Bluetooth?
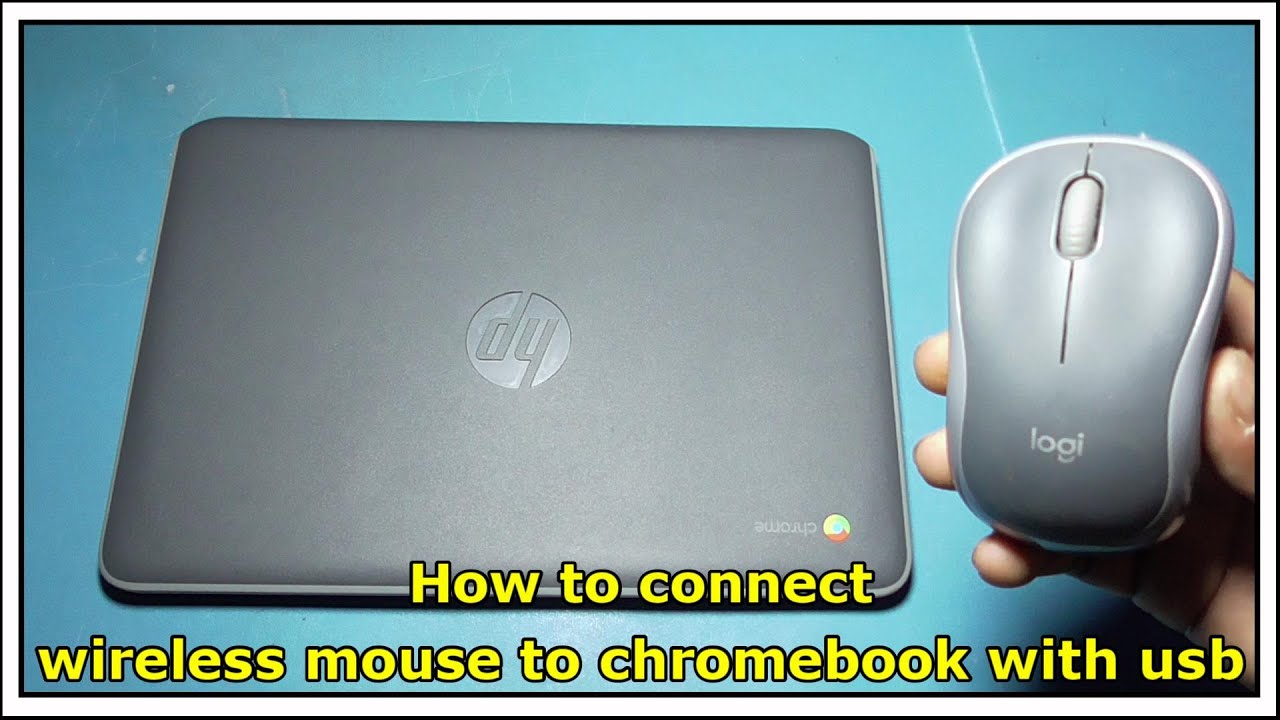
If your Chromebook does not have built-in Bluetooth, you can still use a wireless mouse by using a USB receiver. Many wireless mice come with a small USB receiver that you can plug into a USB port on your Chromebook.
Once the USB receiver is plugged in, follow the same steps as connecting a wireless mouse through Bluetooth, and your Chromebook should recognize the wireless mouse.
How to connect a wireless mouse to your Chromebook
In conclusion, connecting a wireless mouse to your Chromebook is a simple and efficient way to enhance your productivity and ease of use. By following the steps outlined in this guide, you can seamlessly connect your wireless mouse and enjoy the freedom of a cordless experience. Whether you are a student, a professional, or simply someone who values convenience, this process will undoubtedly improve your overall computing experience.
Remember, the key to successfully connecting your wireless mouse to your Chromebook is to ensure compatibility and follow the manufacturer’s instructions. By doing so, you can avoid any potential troubleshooting and enjoy a seamless connection. So, don’t hesitate to give it a try and take advantage of the flexibility and convenience that a wireless mouse can offer. Take control of your Chromebook experience and elevate your productivity to new heights.

