In today’s digital world, the convenience of wireless technology has revolutionized the way we interact with our devices. And while iPads are known for their touch-sensitive screens, sometimes the need for a more precise and effortless control arises. That’s where a wireless mouse comes into play. Connecting a wireless mouse to your iPad not only enhances your productivity but also provides a seamless navigation experience. In this guide, we will walk you through the step-by-step process of connecting a wireless mouse to your iPad, allowing you to unlock a whole new level of efficiency and ease.
Gone are the days of struggling with small buttons and imprecise taps on your iPad screen. With a wireless mouse, you can enjoy precise and smooth cursor control, making tasks like editing documents, browsing the web, and creating art a breeze. Whether you’re a student, professional, or simply a tech enthusiast, this guide will equip you with all the necessary knowledge to successfully connect a wireless mouse to your iPad. So, grab your iPad and get ready to embark on a journey that will transform the way you interact with your beloved Apple device.
- Turn on your wireless mouse and put it in pairing mode.
- On your iPad, go to “Settings” and tap on “Bluetooth.”
- Make sure Bluetooth is turned on and your iPad is searching for devices.
- Select your wireless mouse from the list of available devices.
- Follow any additional on-screen prompts to complete the pairing process.
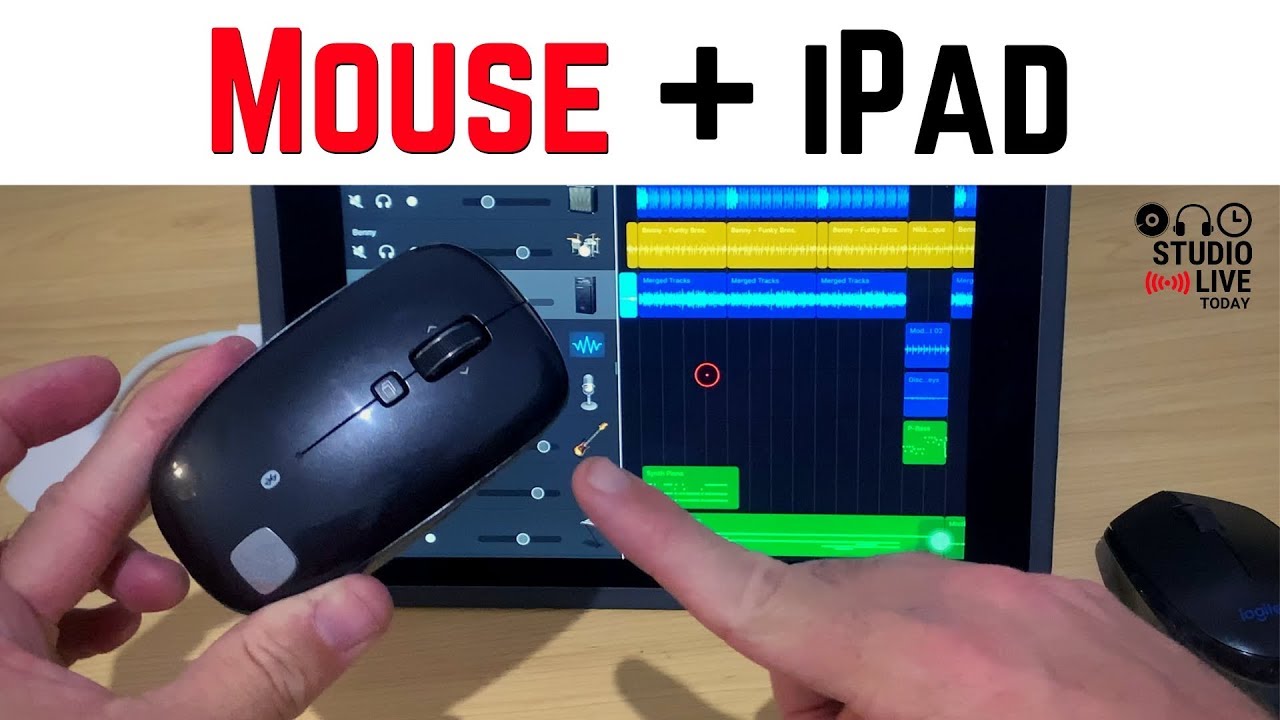
How to Connect a Wireless Mouse to iPad
In today’s digital age, the convenience of using a wireless mouse with your iPad is undeniable. Not only does it provide a more comfortable and precise way to navigate, but it also enhances productivity, especially for tasks that require precise cursor control. In this step-by-step guide, we will walk you through the process of connecting a wireless mouse to your iPad, allowing you to enjoy a seamless and efficient user experience.
Step 1: Check Compatibility
Before starting the connection process, it is important to ensure that your wireless mouse is compatible with your iPad. Most wireless mice these days use Bluetooth technology, which is also supported by iPads. However, it is recommended to check the manufacturer’s specifications or consult the user manual to confirm compatibility.
Additionally, make sure that your iPad’s operating system is up to date. This ensures that you have the latest software features and improvements that can enhance the compatibility and functionality of your wireless mouse.
Step 2: Enable Bluetooth on Your iPad
To connect your wireless mouse to your iPad, you need to enable Bluetooth on your device. Start by accessing the Settings app on your iPad’s home screen. Look for the Bluetooth option, usually located near the top of the settings menu. Tap on it to open the Bluetooth settings.
Once you are in the Bluetooth settings, toggle the switch to turn it on. Your iPad will then start scanning for nearby Bluetooth devices. Keep in mind that some wireless mice may require you to put them in pairing mode by pressing a specific button or switch. Refer to the mouse’s user manual for instructions on how to activate pairing mode.
Step 3: Pair and Connect the Mouse
Now that Bluetooth is enabled on your iPad, it’s time to pair and connect your wireless mouse. Look for your mouse’s name or model number in the list of available devices on the Bluetooth settings screen. Once you find it, tap on it to initiate the pairing process.
In some cases, your iPad may display a pairing code on the screen that you need to enter on your wireless mouse. Follow the on-screen instructions to complete the pairing process. Once the connection is established, you will see a confirmation message on your iPad, indicating that the wireless mouse is successfully connected and ready to use.
Step 4: Adjust Mouse Settings (Optional)
After successfully connecting your wireless mouse to your iPad, you may want to customize its settings to suit your preferences. To do this, go back to the iPad’s main settings menu and select the “General” option. From there, look for the “Mouse” or “Trackpad” settings, depending on your iPad model and software version.
Within the mouse settings, you can adjust various parameters such as cursor speed, scrolling direction, and button configuration. Take some time to explore these options and optimize the settings according to your needs. Once you are satisfied with the adjustments, close the settings menu and enjoy the enhanced navigation experience with your wireless mouse.
Step 5: Troubleshooting
If you encounter any issues during the connection process or while using your wireless mouse with your iPad, there are a few troubleshooting steps you can try. Firstly, make sure that your wireless mouse has sufficient battery power. Low battery levels can cause connectivity problems.
If the mouse still doesn’t work properly, you can try unpairing and re-pairing it with your iPad. Simply go back to the Bluetooth settings, find your mouse in the list of connected devices, and tap on the “Forget This Device” option. Then, repeat the pairing process described in Step 3.
If the issue persists, you may need to consult the user manual of your wireless mouse or contact the manufacturer’s customer support for further assistance.
Conclusion
Connecting a wireless mouse to your iPad can greatly enhance your productivity and user experience. By following the step-by-step instructions provided in this guide, you can easily connect your wireless mouse and enjoy the benefits of precise cursor control and comfortable navigation.
Frequently Asked Questions
Here are some commonly asked questions about how to connect a wireless mouse to an iPad.
1. How do I connect a wireless mouse to my iPad?
To connect a wireless mouse to your iPad, follow these steps:
1. Make sure your wireless mouse is in pairing mode. This usually involves pressing a button on the mouse.
2. On your iPad, go to “Settings” and then “Bluetooth.”
3. Turn on Bluetooth if it’s not already enabled.
4. Wait for your iPad to detect your wireless mouse in the list of available devices.
5. Tap on the name of your mouse to connect it to your iPad.
2. Can I connect any wireless mouse to my iPad?
Most wireless mice that use Bluetooth technology can be connected to an iPad. However, it’s always a good idea to check the compatibility of the mouse with your specific iPad model. Some older iPads may have limitations on the types of accessories they can connect to.
Before purchasing a wireless mouse, make sure to check the product specifications or consult with the manufacturer to ensure compatibility with your iPad.
3. Do I need to install any software or drivers to connect a wireless mouse to my iPad?
No, you do not need to install any additional software or drivers to connect a wireless mouse to your iPad. The iPad’s operating system has built-in support for Bluetooth devices, including wireless mice. Simply follow the pairing instructions provided by your mouse’s manufacturer, and your iPad should automatically recognize and connect to the mouse.
If you encounter any issues, make sure your iPad is running the latest version of iOS and that your wireless mouse is compatible with iOS devices.
4. Can I use the wireless mouse and the iPad’s touch screen simultaneously?
Yes, you can use a wireless mouse and the iPad’s touch screen simultaneously. The iPad’s touch screen functionality remains fully operational even when a wireless mouse is connected. This allows you to choose whether to navigate and interact with your iPad using the mouse or by touching the screen, depending on your preference or the task at hand.
Keep in mind that some apps may have specific touch gestures or features that are not accessible through a mouse, so you may need to switch between the mouse and touch screen interaction as needed.
5. Can I connect multiple wireless mice to my iPad?
No, you can only connect one wireless mouse to your iPad at a time. The iPad’s Bluetooth functionality allows for a single connection to a mouse or any other Bluetooth accessory. If you want to switch to a different wireless mouse, you’ll need to disconnect the currently connected mouse and follow the pairing process again for the new mouse.
Keep in mind that some Bluetooth mice can be paired with multiple devices, so if you have multiple iPads or other devices, you can switch the mouse between them by disconnecting it from one device and connecting it to another.
In conclusion, connecting a wireless mouse to an iPad is a simple yet powerful way to enhance your productivity and improve your user experience. With just a few easy steps, you can enjoy the convenience of a wireless mouse, allowing you to navigate your iPad with precision and ease. This opens up a world of possibilities, whether you are using your iPad for work, gaming, or simply browsing the web.
By following the instructions provided and ensuring that your wireless mouse is compatible with your iPad, you can take full advantage of this technology and unlock a new level of efficiency. No longer confined to the limitations of the touch screen, you can now enjoy the comfort and control of a traditional mouse while using your iPad. Whether you are editing documents, organizing files, or simply scrolling through social media, the wireless mouse provides a seamless and efficient way to interact with your device.
So, why settle for the limitations of a touch screen when you can enhance your iPad experience with a wireless mouse? Take the time to explore the benefits of this simple yet game-changing addition to your device. With a wireless mouse, you can elevate your productivity, increase your accuracy, and truly make the most out of your iPad. Embrace the convenience and unlock the full potential of your device today.

