Are you tired of your mouse cursor wandering off on your Chromebook, causing frustration and hindering productivity? Look no further! In this comprehensive guide, we will explore the steps to lock your mouse on a Chromebook, ensuring a seamless and focused user experience. Whether you’re a student preparing for an important assignment or a professional working on a crucial project, mastering this skill will undoubtedly enhance your efficiency and concentration.
Chromebooks have gained immense popularity due to their simplicity, affordability, and speed. However, some users find it challenging to keep their mouse cursor in check, especially when working on intricate tasks or navigating through multiple tabs. Fortunately, there’s a solution! By learning how to lock your mouse on a Chromebook, you can eliminate the annoyance of accidental cursor movements and enjoy uninterrupted precision while using your device. Join us as we delve into the step-by-step process of locking your mouse on a Chromebook, empowering you to take control of your workflow and maximize your productivity.
How to Lock Your Mouse on Chromebook:
- Click on the time in the bottom-right corner of the screen.
- Select the gear-shaped icon to open the Settings menu.
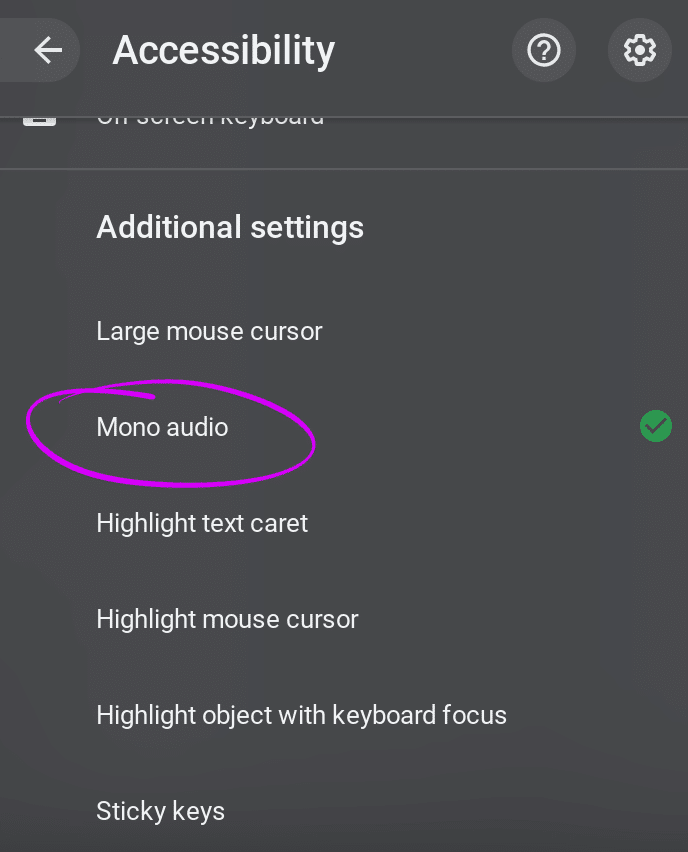
- Scroll down and click on “Accessibility” in the left sidebar.
- Under the “Mouse and touchpad” section, click on “Mouse Lock”.
- Toggle the switch to enable Mouse Lock.
How to Lock Your Mouse on Chromebook
In this article, we will guide you through the process of locking your mouse on a Chromebook. Whether you need to prevent accidental clicks or want to use your Chromebook in a kiosk mode, locking the mouse can be a helpful feature. Follow the step-by-step instructions below to learn how to enable this functionality on your Chromebook.
Step 1: Accessing the Accessibility Settings
To begin, you’ll need to access the Accessibility settings on your Chromebook. Here’s how:
- Click on the time in the bottom-right corner of the screen to open the system tray.
- Click on the gear icon to open the Settings menu.
- In the Settings menu, scroll down and click on “Advanced” to expand the options.
- Under the “Accessibility” section, click on “Manage accessibility features.”
By following these steps, you will be able to access the necessary settings to lock your mouse on your Chromebook.
Step 2: Enabling Mouse Lock
Once you have accessed the Accessibility settings, you can proceed to enable the mouse lock feature. Here’s how:
- In the Accessibility settings menu, scroll down to the “Mouse and touchpad” section.
- Toggle on the switch next to “Mouse keys” to enable this feature.
- Under “Mouse keys,” click on “Settings” to customize the mouse lock options.
- In the Mouse keys settings, check the box next to “Lock mouse pointer when typing.”
- Adjust any other mouse key settings according to your preferences.
- Close the settings menu to apply the changes.
By following these steps, you have successfully enabled the mouse lock feature on your Chromebook. Now, whenever you start typing, your mouse pointer will be locked to prevent accidental movements and clicks.
Step 3: Disabling Mouse Lock
If you ever need to disable the mouse lock feature, you can do so easily. Follow these steps:
- Access the Accessibility settings following the same steps mentioned in Step 1.
- In the “Mouse and touchpad” section, toggle off the switch next to “Mouse keys” to disable this feature.
- Alternatively, you can also uncheck the box next to “Lock mouse pointer when typing” to turn off the mouse lock specifically.
- Close the settings menu to apply the changes.
Following these steps will disable the mouse lock feature on your Chromebook, allowing your mouse pointer to move freely again.
Step 4: Additional Tips
Here are some additional tips to enhance your experience with mouse lock on Chromebook:
- Adjust the mouse speed in the Mouse keys settings to find the right sensitivity for your needs.
- Consider using an external mouse or trackpad for more precise control if needed.
- Remember to periodically check the Accessibility settings for any updates or changes to the mouse lock feature.
By following these tips, you can make the most out of the mouse lock functionality on your Chromebook.
Step 5: Troubleshooting
If you encounter any issues or difficulties with the mouse lock feature on your Chromebook, try the following troubleshooting steps:
- Restart your Chromebook to refresh the system and settings.
- Ensure that your Chromebook is running the latest version of Chrome OS.
- Check for any conflicting Chrome extensions or apps that may interfere with the mouse lock feature.
- If the issue persists, consider reaching out to Chromebook support for further assistance.
These troubleshooting steps should help you resolve any problems you may encounter while using the mouse lock feature on your Chromebook.
Frequently Asked Questions
Here are some common questions about locking your mouse on a Chromebook:
Q: How do I lock my mouse on a Chromebook?
Locking your mouse on a Chromebook is simple. First, go to the Settings menu by clicking on the clock in the bottom-right corner of the screen, then click on the gear icon. In the Settings menu, scroll down and click on the “Accessibility” option. Under the “Mouse and touchpad” section, toggle the switch next to “Mouse Keys” to enable it. Once enabled, you can use the keyboard to control the mouse cursor. Pressing the “Search” key and “Shift” key together will lock the mouse in place.
If you want to unlock the mouse, simply press the “Search” key and “Shift” key combination again, and you’ll regain full control of the mouse cursor.
Q: Can I customize the keyboard shortcut to lock the mouse on a Chromebook?
Unfortunately, the keyboard shortcut to lock the mouse on a Chromebook is not customizable. It is set to the “Search” key and “Shift” key combination by default. This means that you cannot change the shortcut to something else or assign it to a different key combination.
However, you can still use external tools or software that offer customizable keyboard shortcuts to achieve a similar effect. These tools usually allow you to create custom shortcuts for locking and unlocking the mouse, giving you more flexibility and control over the process.
Q: Why would I want to lock my mouse on a Chromebook?
Locking your mouse on a Chromebook can be useful in various scenarios. For example, if you’re playing a game that requires precise mouse movements and you don’t want accidental cursor movements to interfere, locking the mouse can help ensure a more accurate gaming experience. It can also be helpful if you’re doing detailed design work or working with complex spreadsheets, where a locked mouse allows for more precise selections and movements.
Additionally, some people with certain motor disabilities or conditions may find it easier to navigate their Chromebook by using the keyboard instead of the mouse. Locking the mouse enables them to control the cursor solely with the keyboard, providing a more accessible computing experience.
Q: Will locking the mouse affect the touchpad on my Chromebook?
No, locking the mouse on a Chromebook will not affect the touchpad. The touchpad will still function normally even when the mouse is locked. This means that you can still use the touchpad to move the cursor, perform gestures, and interact with the Chromebook’s user interface, even if the mouse is locked.
However, if you prefer to disable the touchpad while using the locked mouse feature, you can do so by going to the Settings menu, selecting “Accessibility,” and then disabling the “Tap-to-click” option under the “Mouse and touchpad” section.
Q: Can I lock the mouse on a Chromebook using an external mouse?
Yes, you can lock the mouse on a Chromebook using an external mouse. The process is the same as locking the built-in touchpad. Simply follow the steps mentioned earlier to enable the “Mouse Keys” option in the Accessibility settings. Once enabled, you can use the external mouse to control the cursor, and pressing the “Search” key and “Shift” key combination will lock the mouse cursor in place.
Remember that the external mouse needs to be connected and recognized by the Chromebook for this feature to work. If you’re having trouble with an external mouse, make sure it’s properly connected and check for any compatibility issues.
How to Use Shift Lock on Roblox CHROMEBOOK! *2022*
In conclusion, learning how to lock your mouse on a Chromebook is a valuable skill that can greatly enhance your productivity and overall computing experience. By following the simple steps outlined in this guide, you can take full control of your cursor, preventing accidental clicks and ensuring precise navigation. Whether you are a student, professional, or simply a Chromebook user seeking to optimize your workflow, mastering this feature will undoubtedly save you time and frustration.
Remember, the key to successfully locking your mouse on a Chromebook lies in accessing the Accessibility menu and enabling the feature. Once activated, you can enjoy seamless cursor control without the worry of unintentional movements. So, why wait? Take advantage of this powerful tool and unlock a new level of efficiency in your Chromebook usage. With practice, you will soon find yourself gliding effortlessly through your tasks, all while maintaining complete control over your mouse movements.

