Are you tired of your mouse gliding across your desk, making it difficult to navigate through your work or enjoy your gaming sessions? Well, look no further! In this guide, we will delve into the art of creating your own mouse pad, customized to suit your needs and style. Whether you’re a DIY enthusiast or simply looking for a fun and practical project, this step-by-step tutorial will equip you with the knowledge and skills to craft a mouse pad that not only enhances your computing experience but also reflects your personal taste.
Gone are the days of settling for generic, mass-produced mouse pads that lack personality. By making your own, you have the freedom to choose the materials, size, and design that best complement your workspace. Plus, with a little creativity, you can even incorporate your favorite colors, patterns, or images to make a truly unique mouse pad that showcases your individuality. So, grab your crafting tools and let’s embark on this exciting journey to create a mouse pad that will not only enhance your mouse’s performance but also add a touch of personality to your desk!
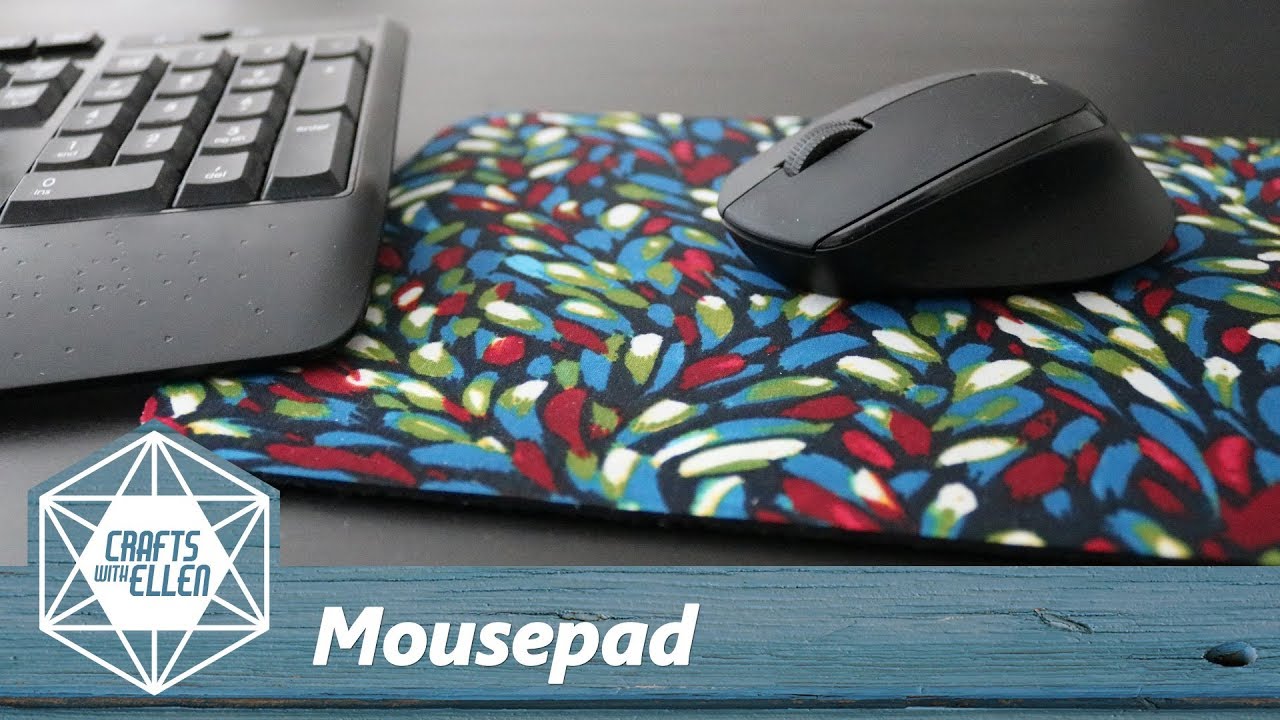
How to make a mouse pad:
- Measure and cut a piece of fabric to your desired mouse pad size.
- Cut a piece of non-slip rubber or foam padding to match the fabric size.
- Apply adhesive to one side of the padding and press it onto the wrong side of the fabric.
- Trim any excess fabric and let the adhesive dry completely.
- Your homemade mouse pad is ready to use!
Introduction
Are you tired of using a boring and generic mouse pad? Why not make your own custom mouse pad that reflects your style and personality? In this step-by-step guide, we will show you how to make a mouse pad from scratch. With just a few materials and some creativity, you can have a unique and personalized mouse pad that will make your workspace more enjoyable.
Materials Needed
Before we get started, let’s gather all the materials you will need to make your own mouse pad:
- Foam sheet
- Fabric of your choice
- Scissors
- Glue
- Pen or pencil
- Ruler
- Iron (optional)
Once you have these materials ready, we can move on to the next steps.
Step 1: Measure and Cut
Start by measuring the size of the mouse pad you want to create. Use a ruler and a pen or pencil to mark the dimensions on the foam sheet. Make sure to leave a little extra space around the edges for the fabric to wrap around.
Once you have marked the dimensions, use scissors to carefully cut out the foam sheet along the lines. Take your time to ensure clean and straight edges.
Step 2: Choose and Prepare the Fabric
Select a fabric that you like and that complements your workspace. Lay the fabric flat on a clean surface and place the foam sheet on top of it. Make sure there is enough fabric on all sides to wrap around the foam sheet.
If the fabric has any wrinkles, you can use an iron to smooth it out before proceeding. This step is optional but can help achieve a neater final result.
Step 3: Glue the Fabric
Apply a thin, even layer of glue to the top side of the foam sheet. Be careful not to use too much glue, as it may seep through the fabric. Start from one edge and work your way towards the opposite edge, smoothing out the fabric as you go.
Once the fabric is glued to the foam sheet, fold the excess fabric over the edges and secure it with more glue. Trim any excess fabric if necessary.
Step 4: Let it Dry
Allow the glue to dry completely before using your custom mouse pad. This may take a few hours, depending on the type of glue used. Once the glue is dry, your mouse pad is ready to use!
Remember to clean your mouse pad regularly to maintain its quality and longevity. Simply wipe it with a damp cloth or sponge to remove any dirt or stains.
Step 5: Personalize and Enjoy
Now that you have your own custom mouse pad, you can further personalize it if you wish. Add decorative elements like stickers, embroidery, or even paint to make it truly unique to you.
Place your new mouse pad on your desk, and enjoy using a personalized accessory that adds a touch of creativity to your workspace.
Conclusion
By following these simple steps, you can create a custom mouse pad that reflects your style and personality. Making your own mouse pad allows you to have a unique accessory for your workspace while also adding a personal touch to your daily routine. So, gather your materials, get creative, and start making your custom mouse pad today!
Frequently Asked Questions
Here are some commonly asked questions about how to make a mouse pad:
Q: What materials do I need to make a mouse pad?
To make a mouse pad, you will need the following materials:
– A piece of fabric or felt, ideally with a non-slip backing
– A piece of foam or padding
– Scissors
– Fabric glue or a sewing machine
Q: How do I measure the size of the mouse pad?
To measure the size of your mouse pad, place your mouse on a flat surface and measure the area it covers when moving around. This will give you an idea of the size you need for your mouse pad. It’s important to have enough space for comfortable mouse movement.
Alternatively, you can use a ruler or measuring tape to measure the dimensions of your existing mouse pad if you want to replicate its size.
Q: Can I customize my mouse pad with a design or logo?
Yes, you can definitely customize your mouse pad with a design or logo. Once you have chosen your fabric or felt, you can use fabric markers or paint to draw or stencil a design onto the surface. Alternatively, you can print a design or logo onto transfer paper and then transfer it onto the fabric using an iron.
Make sure to let the design dry completely before using the mouse pad to prevent any smudging or transfer of ink onto your mouse.
Q: How do I attach the padding to the fabric?
To attach the padding to the fabric, you can either use fabric glue or sew them together. If using fabric glue, apply a thin layer of glue onto the fabric and press the padding onto it, making sure to smooth out any wrinkles or air bubbles. Let it dry completely before using the mouse pad.
If you prefer sewing, place the padding onto the fabric and sew around the edges, leaving a small opening to turn it right side out. Once turned, sew the opening closed. This will create a more secure attachment between the fabric and padding.
Q: How do I clean and maintain my homemade mouse pad?
To clean your homemade mouse pad, gently wipe the surface with a damp cloth or sponge. Avoid using harsh chemicals or abrasive cleaners as they may damage the fabric or design.
If the mouse pad becomes heavily soiled, you can hand wash it with mild soap and water. Make sure to rinse thoroughly and let it air dry completely before using it again.
In conclusion, learning how to make a mouse pad is a fun and practical DIY project for anyone looking to personalize their workspace or create a unique gift. By following the step-by-step instructions provided in this article, you can easily create a custom mouse pad that reflects your individual style and preferences. Not only will this project allow you to unleash your creativity, but it will also provide you with a functional and comfortable tool for navigating your computer.
Remember, making a mouse pad is not only about the end result, but also about the journey of creating something with your own hands. It is an opportunity to learn new skills, experiment with different materials, and express your personality through a useful everyday item. So, gather your materials, unleash your creativity, and enjoy the process of making a mouse pad that is uniquely yours!

